I have been hammering away on my Yamaha SU700 for almost a year now. It is absolutely one of the most unique and interesting samplers I’ve ever used. It’s in my top 5 hardware samplers of all time for sure. This sampler is not without limitations… No grid programming for instance. That ok though, I have about 10 other samplers that will do that job just fine. This one is good at it’s own thing though. That thing is loops.
This is the best loop machine out there. Yes, I tried the Octatrack. I’m sure it’s way more powerful. I don’t care though, it’s not even close to being as easy to use as this Yamaha. The only other thing I suspect might come close is the Pioneer Toraiz. I’ve tried that one in the store and I plan to purchase one at some point but the Yamaha will most likely still have something to offer even after that happens.
I wanted to share my workflow for capturing loops on the SU700. This might sound complicated but it’s really not. All you need is a calculator. I’ll try to make my explanation as easy as possible. It ONLY works if you know the exact BPM of the loop you are sampling. This is intended for sampling loops you have created on other machines or perhaps loops you have purchased. Here is my process:
- Sample your loop to one of the orange loop pads. Hit the “start sampling” button on the SU first, then hit play on your sample.
- Stop sampling after the last of your loop is captured. You don’t have to be precise here.
- Enter the sample -> process menu and trim will pop up. Hit ok and trim the sample.
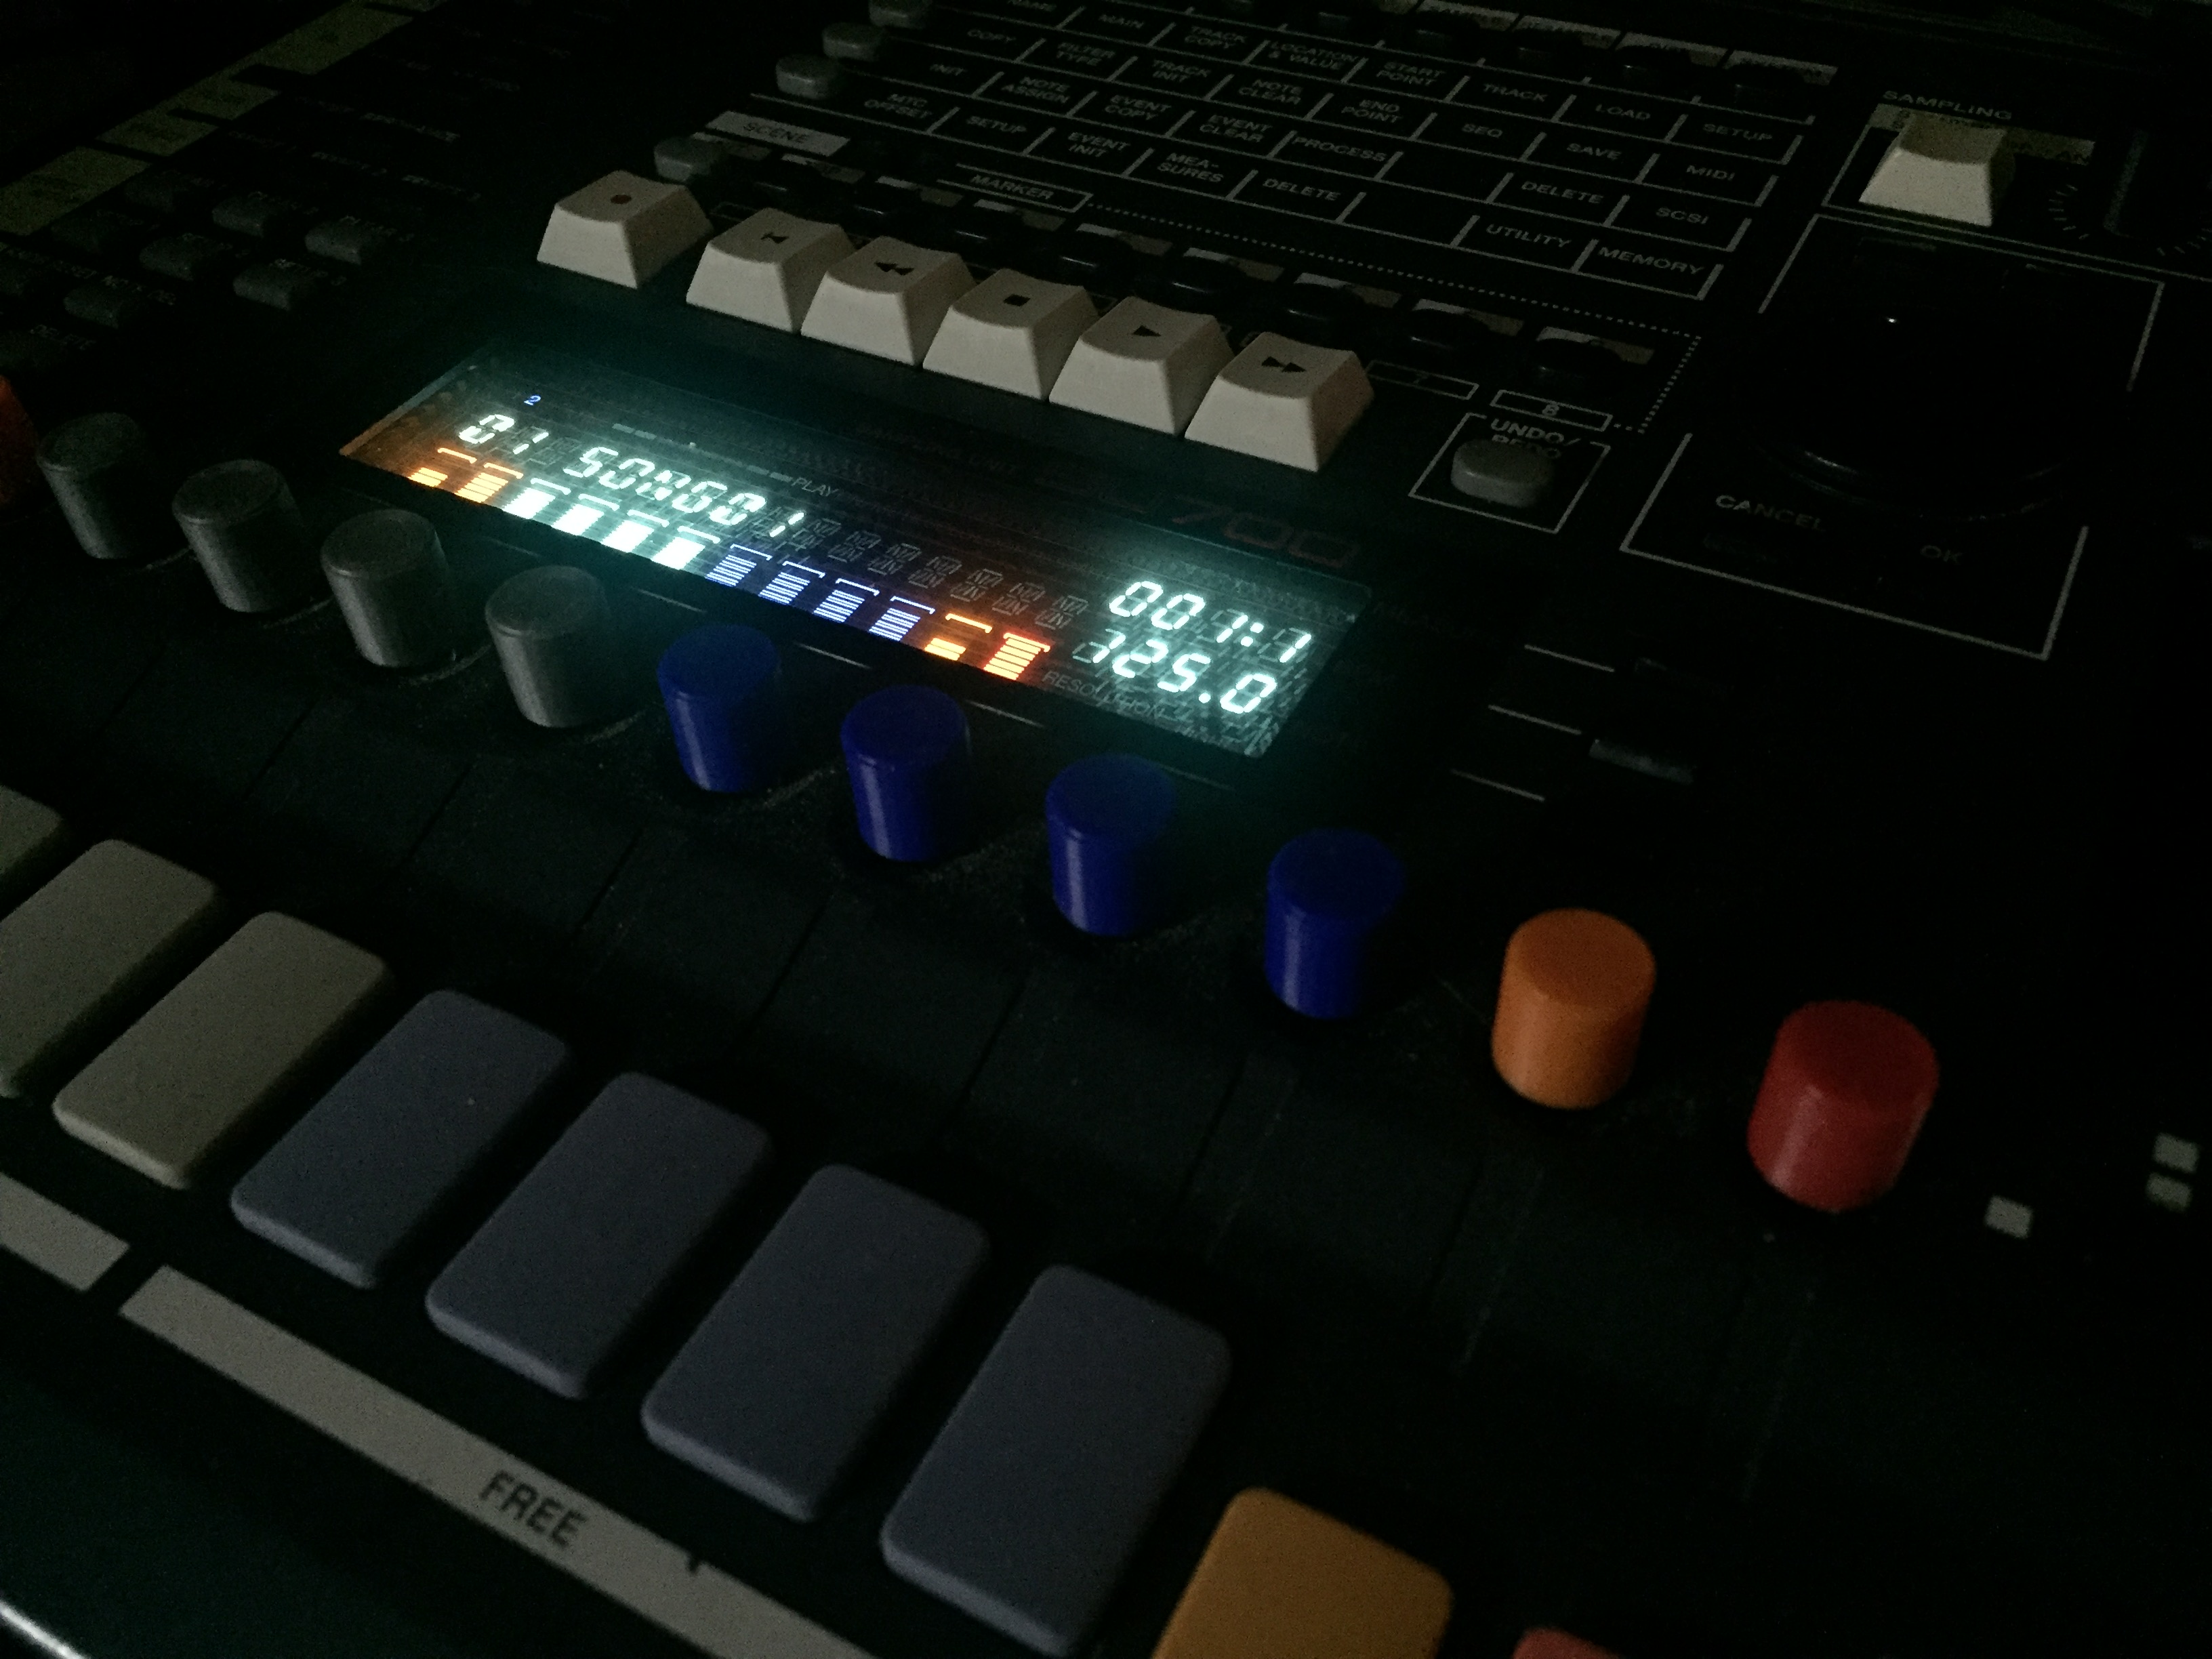
- Enter the track set-> setup menu. Select “loop length”. Set the measures and punch the BPM shown there into your calculator.
- Hit the division button on your calculator and enter the actual known BPM of the loop, then hit equals on the calculator.
- Go to sample -> end point in the menu matrix. Hit the multiply button on your calculator and multiply the number shown as your end point.
- Hit equals and change the end point to that new number. [hint: you might not be able to set it to the exact number, just get as close as you can]
- [optional] Change your SU700 BPM to the known BPM of your loop
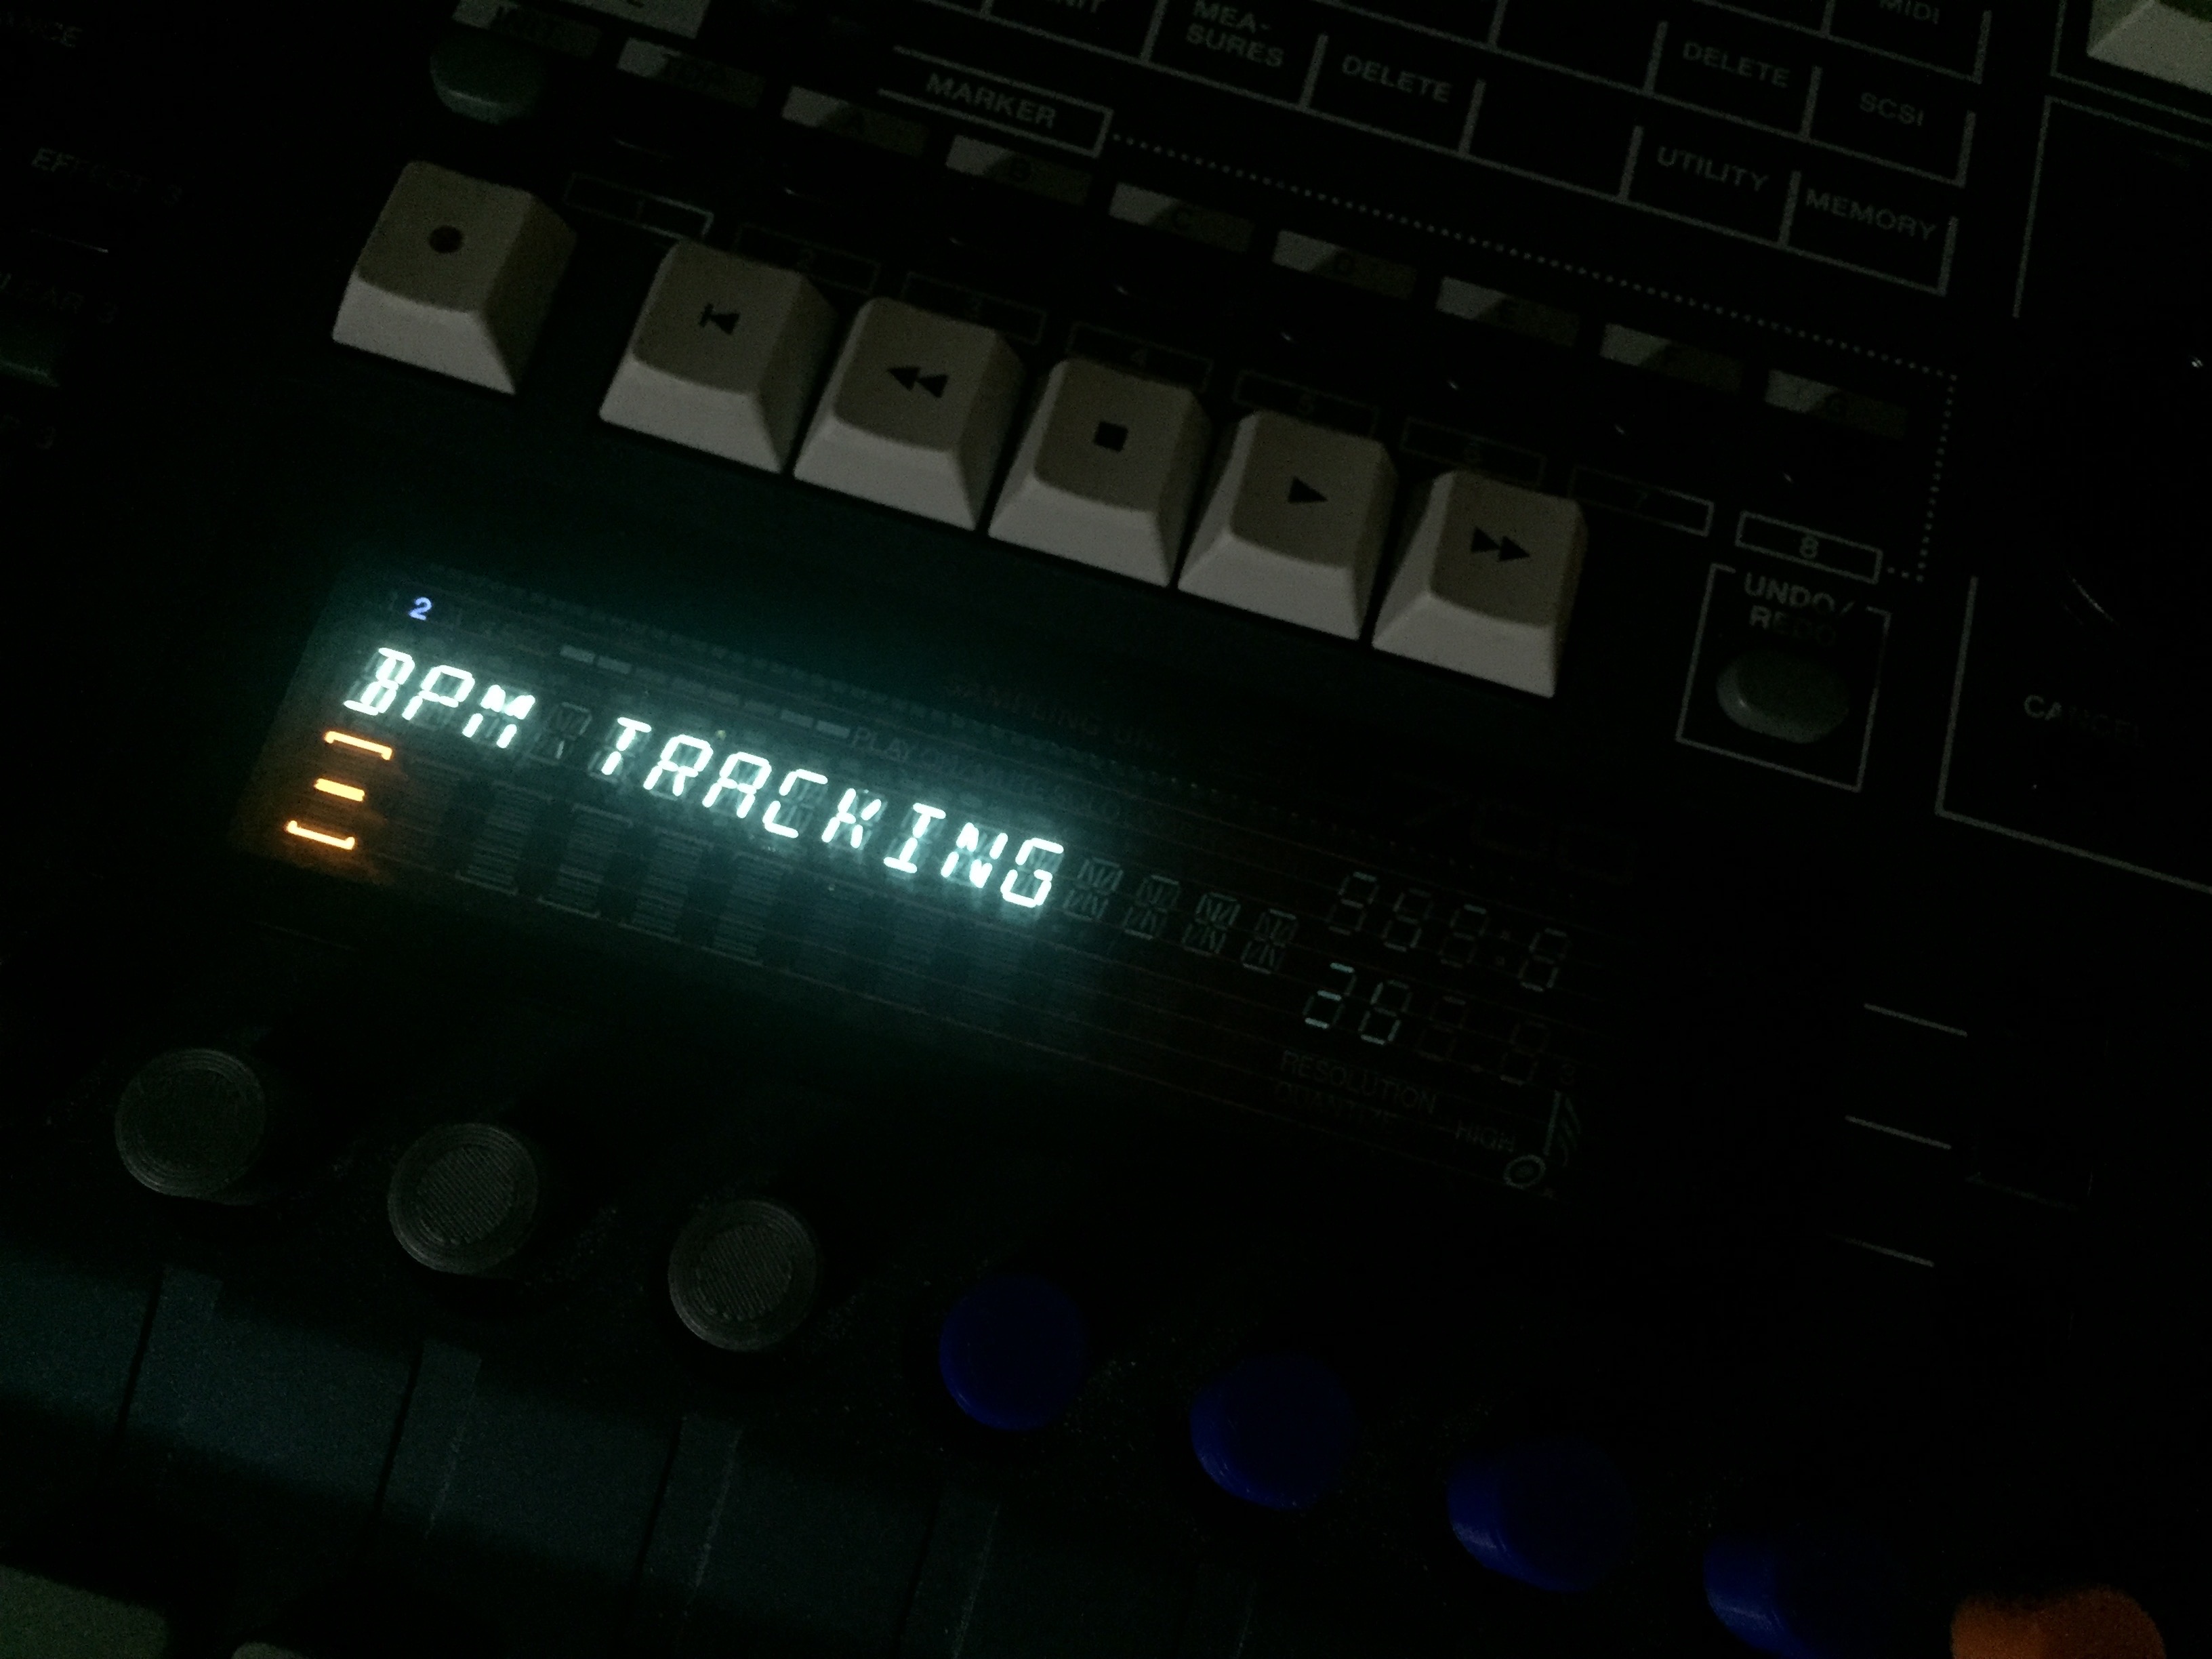
- [optional] Got to track set -> setup -> BPM Tracking and change from “SLICE” to “CHNG PITCH” this will prevent choppiness
- Hit play on the SU and it should sound absolutely precise and spot on.
I know that probably looks weird so let me just show the math here with some example numbers:
Let’s say you have a 115 BPM loop… You sample it, and trim it. When you go to “loop length” it shows “108.2”. On your calculator do this:
108.1 / 115 = 0.94
Now go to the end point and you see that it’s currently 389956. Do this on your calculator:
0.94 * 389956 = 366558
Now you need to change the end point to 366558 and you are basically done. You have an absolutely perfectly trimmed loop on your hands. The entire process takes me about 20 seconds? Much quicker than doing it by ear. I recommend the 2 optional steps. Usually I do those things to start with and then play around with this settings later if I want a different effect.
This process may even apply to other samplers. If it does, that means you have another good loop machine in your hands and I want to know about it. Please leave a comment. I hope someone out there still loves this sampler as much as I do and finds this useful.