Irongeek’s side-track Linux was built around a semi-stock Zipit Z2. In order to run side-track, you have to re flash the Zipit with a hacked 2.6.29 kernel but you keep the original blob bootloader. The problem with keeping blob is that it doesn’t allow you to use any other kernels and things have come a LONG way since 2.6.29. U-boot is the future of the Zipit as a hacking platform but right now it’s still a short bit away from being a seamless process. One of the problems is that some userlands such as side-track will no longer act as expected. There are a few things that will be tweaked in order for it to run at all.
For starters, you’ll want a uImage and uboot.script that will be good enough to boot with. You will put these files in your /boot directory on your sidetrack sd card. As stated in one of my other posts about U-boot, you will need to make sure this line is set as an environment variable in U-boot:
bootcmd=if mmcinfo && ext2load mmc 0 0xa0000000 boot/uboot.script ; then source 0xa0000000 ; elif mmcinfo && fatload mmc 0 0xa0000000 uboot.script ; then source 0xa0000000; else bootm 0×60000; fi;
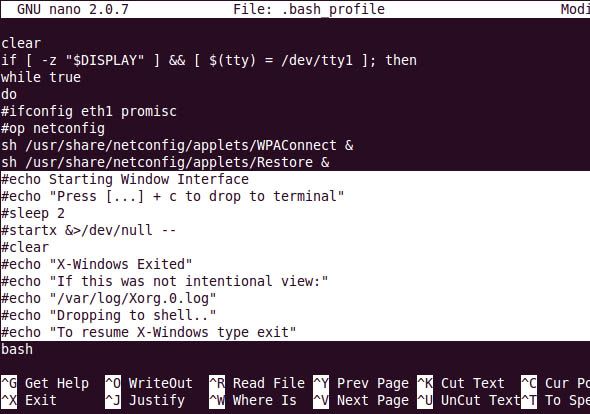
These things will probably make your system bootable at least. When you boot however, you will not be able to do anything because the keymouse driver is broken under the new kernel. Mozzwald and some others are looking for some solutions to this problem but for now, we should just disable X so we can try out the system a bit and see what else is broken. To disable X in side-track, edit /root/.bash_profile. Comment out the following line:
startx &>/dev/null —
If you want to clean up all the garbage messages on the console, also comment out the 3 line before startx and 6 lines after it since none of them are needed now either.

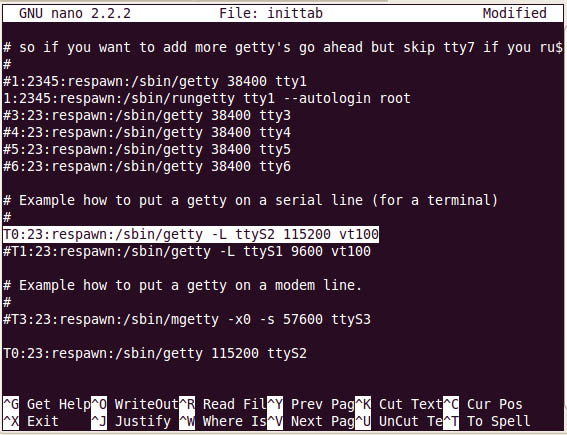
If you have a serial port, you will also want to enable the console access so you can log in from your desktop and type away. To do so, you will need to fix this line in /etc/inittab to look like my screenshot below:
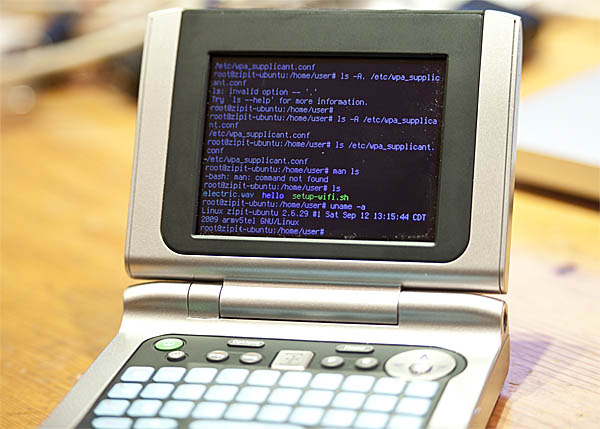
 This gets you in a minimally running state where you aren’t locked out of the console anymore. Then you can move onto other tasks such as making the font readable since the kernel sets the font size down to extreme eyes training levels. I’ll leave that discussion for a different day.
If you are interested in buying your own Zipit to hack and you like the information on my site, please buy your Zipit using this link and support my site. You won’t find them anywhere cheaper than that anyways.


